
Your Compost is Finished. Now What? A Guide on How to Store Compost
Learn how to store compost properly with 4 easy methods. Keep your finished compost fresh and ready to use with simple storage solutions for every garden.
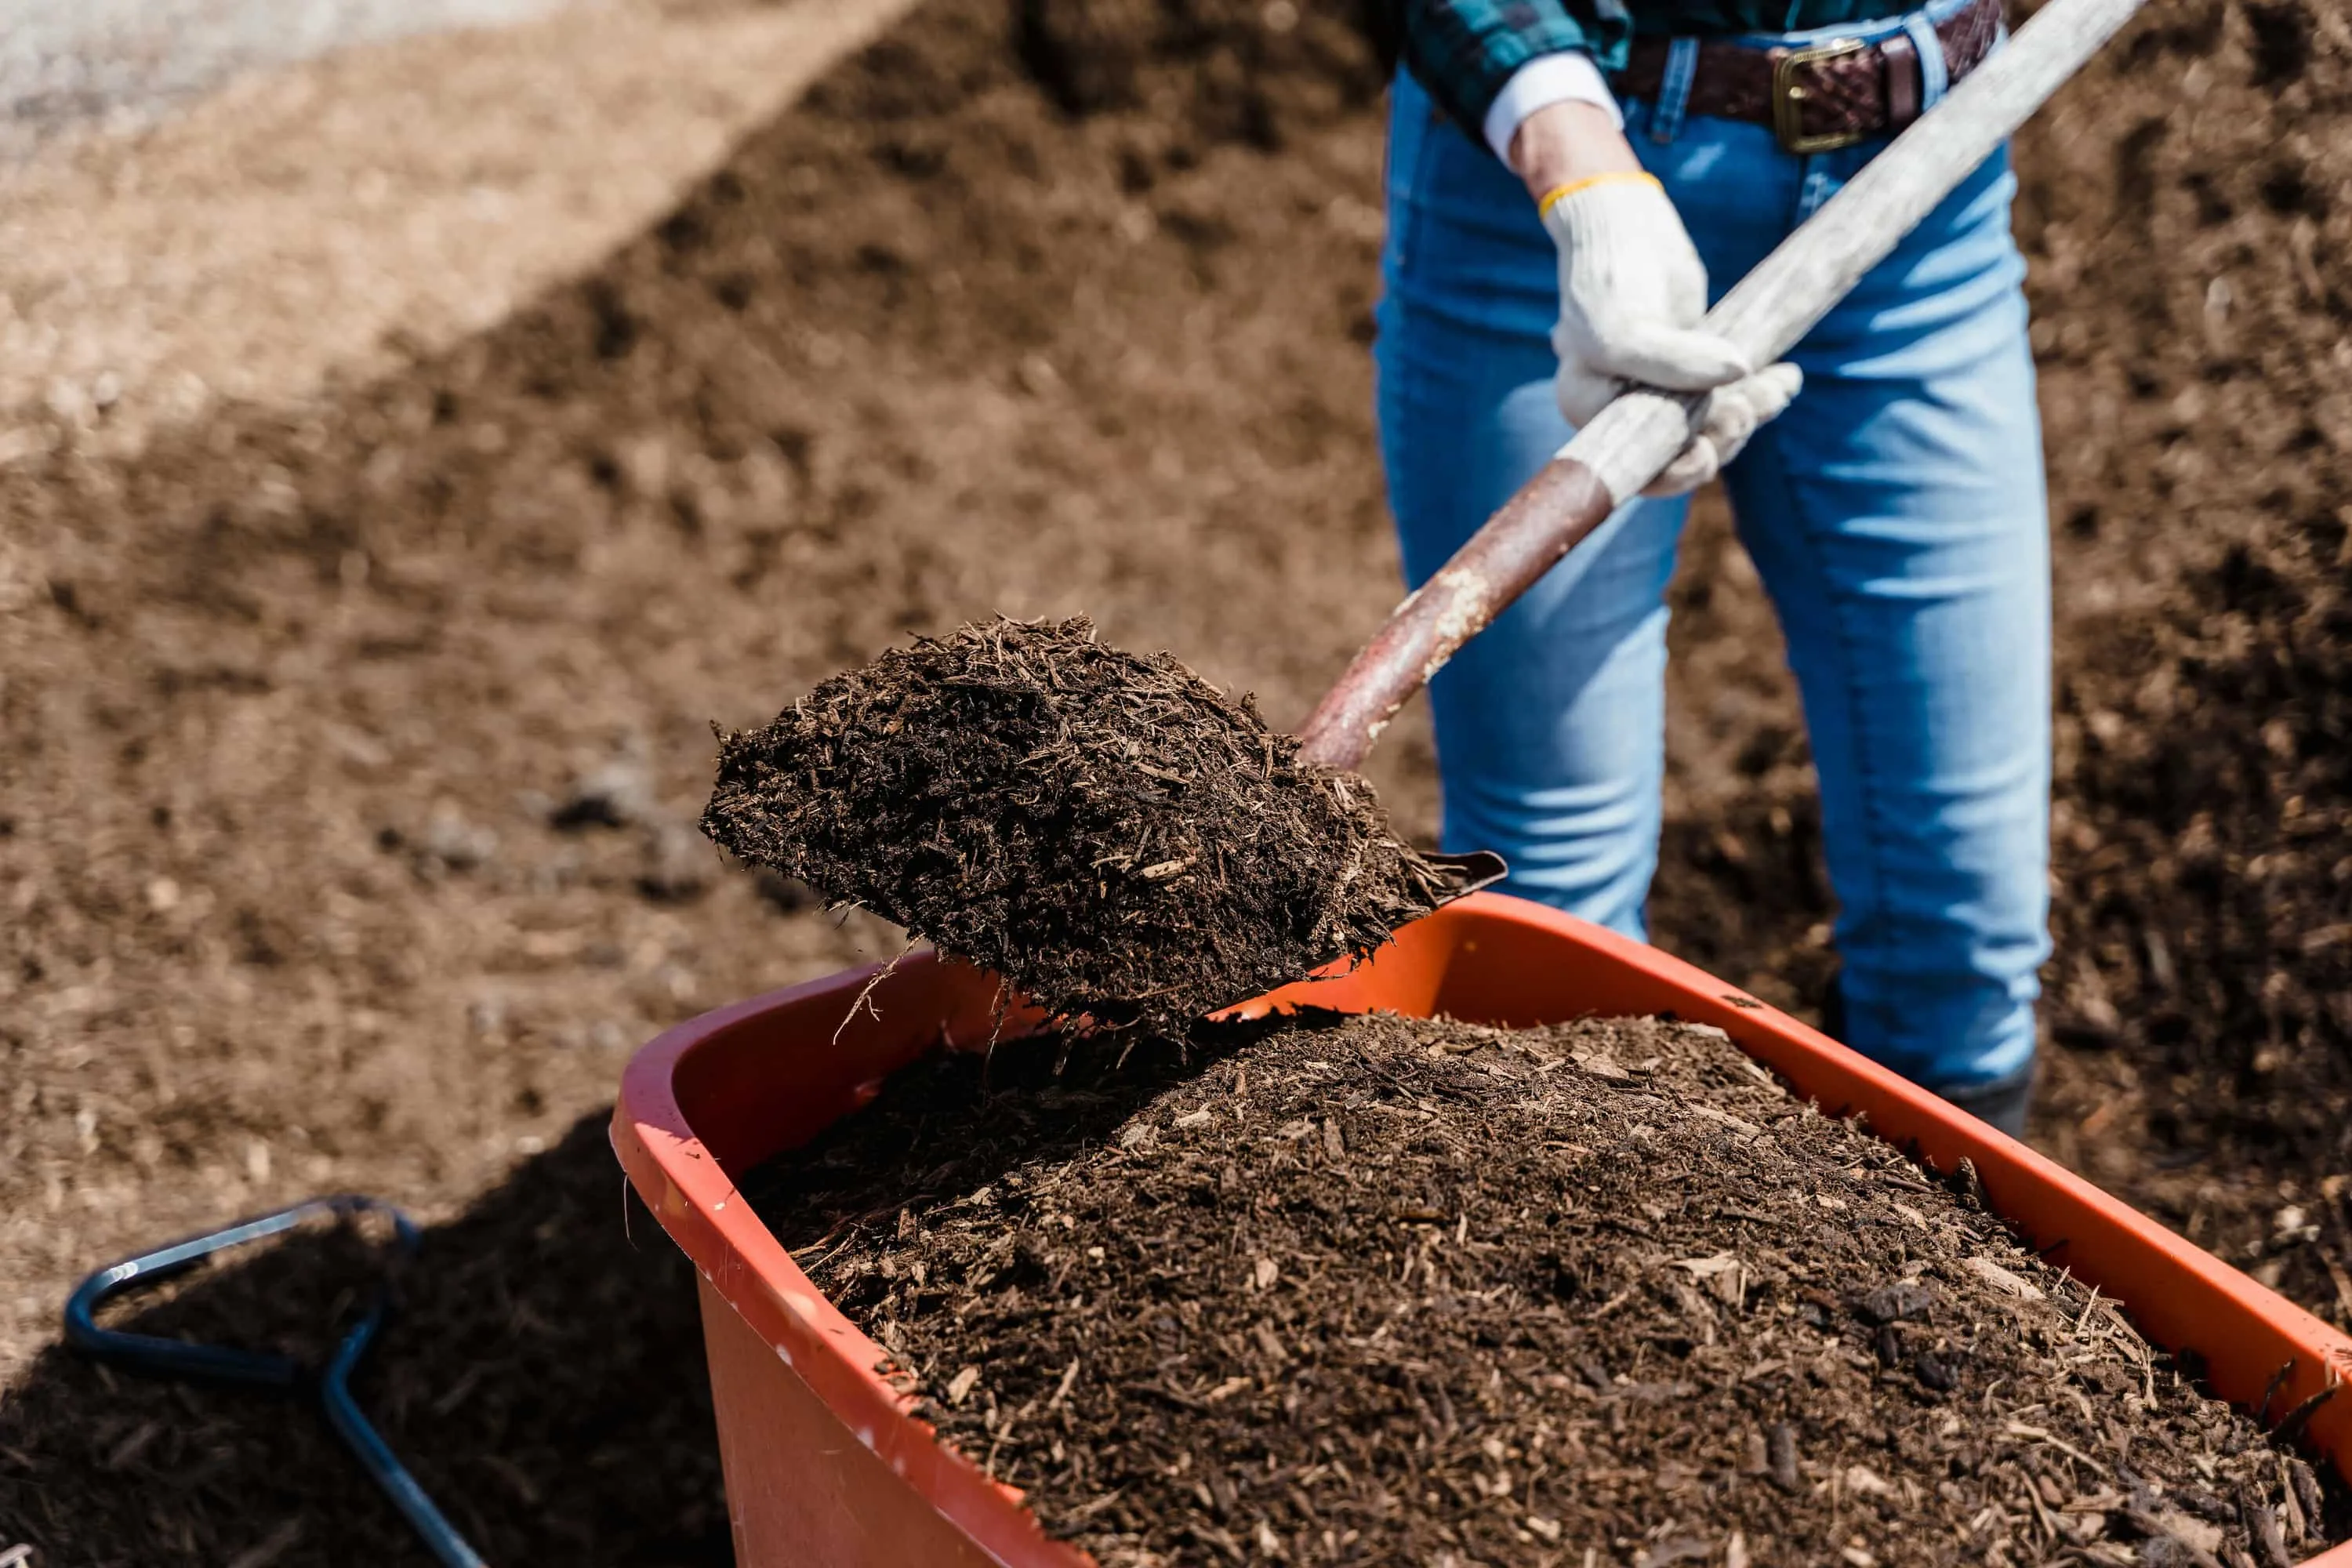
You’ve done it. You shepherded that pile of coffee grounds, eggshells, and fallen leaves from a humble heap into a mound of rich, dark, earthy magic. It smells like a forest floor after it rains. But now you’re staring at a mountain of the stuff, your garden beds are topped up, and you’re wondering, “What do I do with the rest?”
The big question that trips up every new composter is how to store compost. Will it spoil? Will all those helpful microbes just give up and die if you let it sit?
Does Compost Go Bad in Storage?
Let’s get one thing straight: finished compost isn’t like a carton of milk with a hard expiration date. It’s stable. It’s a bank of organic matter and slow-release nutrients.
While it’s certainly at its most biologically active when it’s fresh and teeming with life, its value doesn’t just evaporate. Even if it dries out, the good stuff is still locked inside. When you eventually add it to your garden and give it some water, the local soil life will move right in and get things cooking again.
So, relax. Learning how to store compost is easy. You just need a simple plan.
The Gardener’s First Choice: Use It Immediately
Honestly, the best way to store compost is to not store it at all. The ideal home for your finished black gold is right in the garden.
If you have an empty bed, especially in the fall, spread a thick layer (2-4 inches) right on top of the soil. Just leave it there. Let the winter rains, the snow, and the worms do all the heavy lifting for you.
Benefits of immediate application:
- No storage space needed
- Worms work it into the soil naturally
- Improves soil structure over winter
- Sets you up for incredible spring planting
- The ultimate “work smarter, not harder” garden hack
Winter tip: Check your USDA hardiness zone map to time your compost application. In colder zones, apply compost in late fall before the ground freezes.
4 No-Fuss Ways to Store Compost
If you can’t use it all right away, that’s totally fine. Maybe you need to free up your bin for a fresh batch, or you just have a huge surplus. Here are four practical methods to store compost until you need it.
Method 1: The Humble Tarp Fort
This is about as simple as it gets when you need to store compost outdoors.
How to do it:
- Choose a discreet corner of your yard (preferably in partial shade)
- Pile your finished compost directly on the ground
- Cover completely with a heavy-duty tarp
- Weigh down the edges with bricks or large rocks
Pros:
- Free if you already have a tarp
- Worms can crawl up from the soil below
- Maintains consistent moisture levels
- Can store large quantities
Cons:
- Can be an eyesore
- Takes up yard space
- Tarp may need replacing eventually
Best for: Large quantities of compost when you have space to spare.
Method 2: Bag It Up
Yes, you can absolutely store compost in bags. This portable solution works great for smaller quantities.
What you’ll need:
- Thick black plastic contractor bags ($), OR
- Large fabric grow bags ($$, reusable)
How to do it:
- Shovel finished compost into bags
- For plastic bags: loosely roll the top down (don’t seal airtight)
- For fabric bags: simply fold the top over
- Store in a shady spot behind the garage or shed
Pros:
- Portable and easy to move
- Keeps compost contained
- Inexpensive solution
- Can stack bags to save space
Cons:
- Plastic bags may tear over time
- Limited capacity per bag
- Requires multiple bags for large batches
Best for: Small to medium quantities, urban gardeners with limited space.
Method 3: The Tidy Tote (My Personal Favorite)
My go-to method to store compost involves a cheap plastic tote or a spare garbage can with a lid. It’s neat, it’s mobile, and it keeps everything perfectly contained and out of sight.
What you’ll need:
- Large plastic storage tote or garbage can with lid
- Drill with 1/2” bit
- Optional: wheels for easier mobility
How to do it:
- Drill 6-10 half-inch holes around the upper sides of the container
- Fill with finished compost
- Secure the lid
- Store near your garden beds for easy access
Pros:
- Looks tidy and organized
- Protects from rain and pests
- Easy to move around the yard
- Maintains ideal moisture levels
- Can wheel it directly to where you need it
Cons:
- Limited capacity (typically 20-30 gallons)
- Requires purchasing containers
- May need multiple totes for large batches
Best for: Gardeners who value aesthetics and convenience, container gardens, patio gardens.
Method 4: Let It Rest in the Bin
This one is almost too obvious, but it works perfectly. Sometimes the easiest way to store compost is to leave it exactly where it finished.
How to do it:
- Leave finished compost in your composting bin
- Keep the lid on to protect from rain
- For multi-bin systems: move to the next chamber
- Use as needed throughout the season
Pros:
- Zero extra effort or equipment
- No moving heavy compost
- Already in a protected environment
- Perfect for multi-bin composters
- Maintains moisture naturally
Cons:
- Takes up your composting space
- Not an option if you need to start a new batch
- Requires having an extra bin or chamber
Best for: Multi-bin systems, gardeners who compost seasonally, those with extra capacity.
The Two Golden Rules to Store Compost Successfully
No matter which method you choose to store compost, your goals are the same. Just remember these two essential principles:
Rule 1: Manage Moisture
You want your compost to stay slightly damp, like a sponge you’ve just wrung out.
Too wet: Sopping compost becomes stinky and anaerobic (lacking oxygen). You’ll know it’s too wet if it smells bad or has standing water.
Too dry: Bone-dry compost loses its beneficial microbial activity. It won’t hurt the nutrients, but it’s not ideal.
The fix: Check your stored compost every 3-4 weeks. If it seems too dry, give it a quick spray with the hose and a stir.
Rule 2: Allow Airflow
Compost is a living ecosystem, and it needs to breathe.
Why it matters: Beneficial aerobic microbes need oxygen to survive. Without airflow, you’ll get anaerobic decomposition (the smelly kind).
How to ensure airflow:
- Drill ventilation holes in containers
- Don’t seal bags airtight
- Use breathable covers (tarps, fabric)
- Stir occasionally if storing long-term
How to Use Your Stored Compost
When you’re ready to put your stored compost to work, here are the best ways to use it:
For vegetable gardens:
- Work 2-4 inches into the top 6 inches of soil before planting
- Side-dress growing plants with a 1-inch ring around the base
- Perfect for vegetables you can grow in winter
For flower beds:
- Mix into planting holes for new perennials
- Top-dress around established plants in spring
- Great for feeding heavy feeders throughout the season
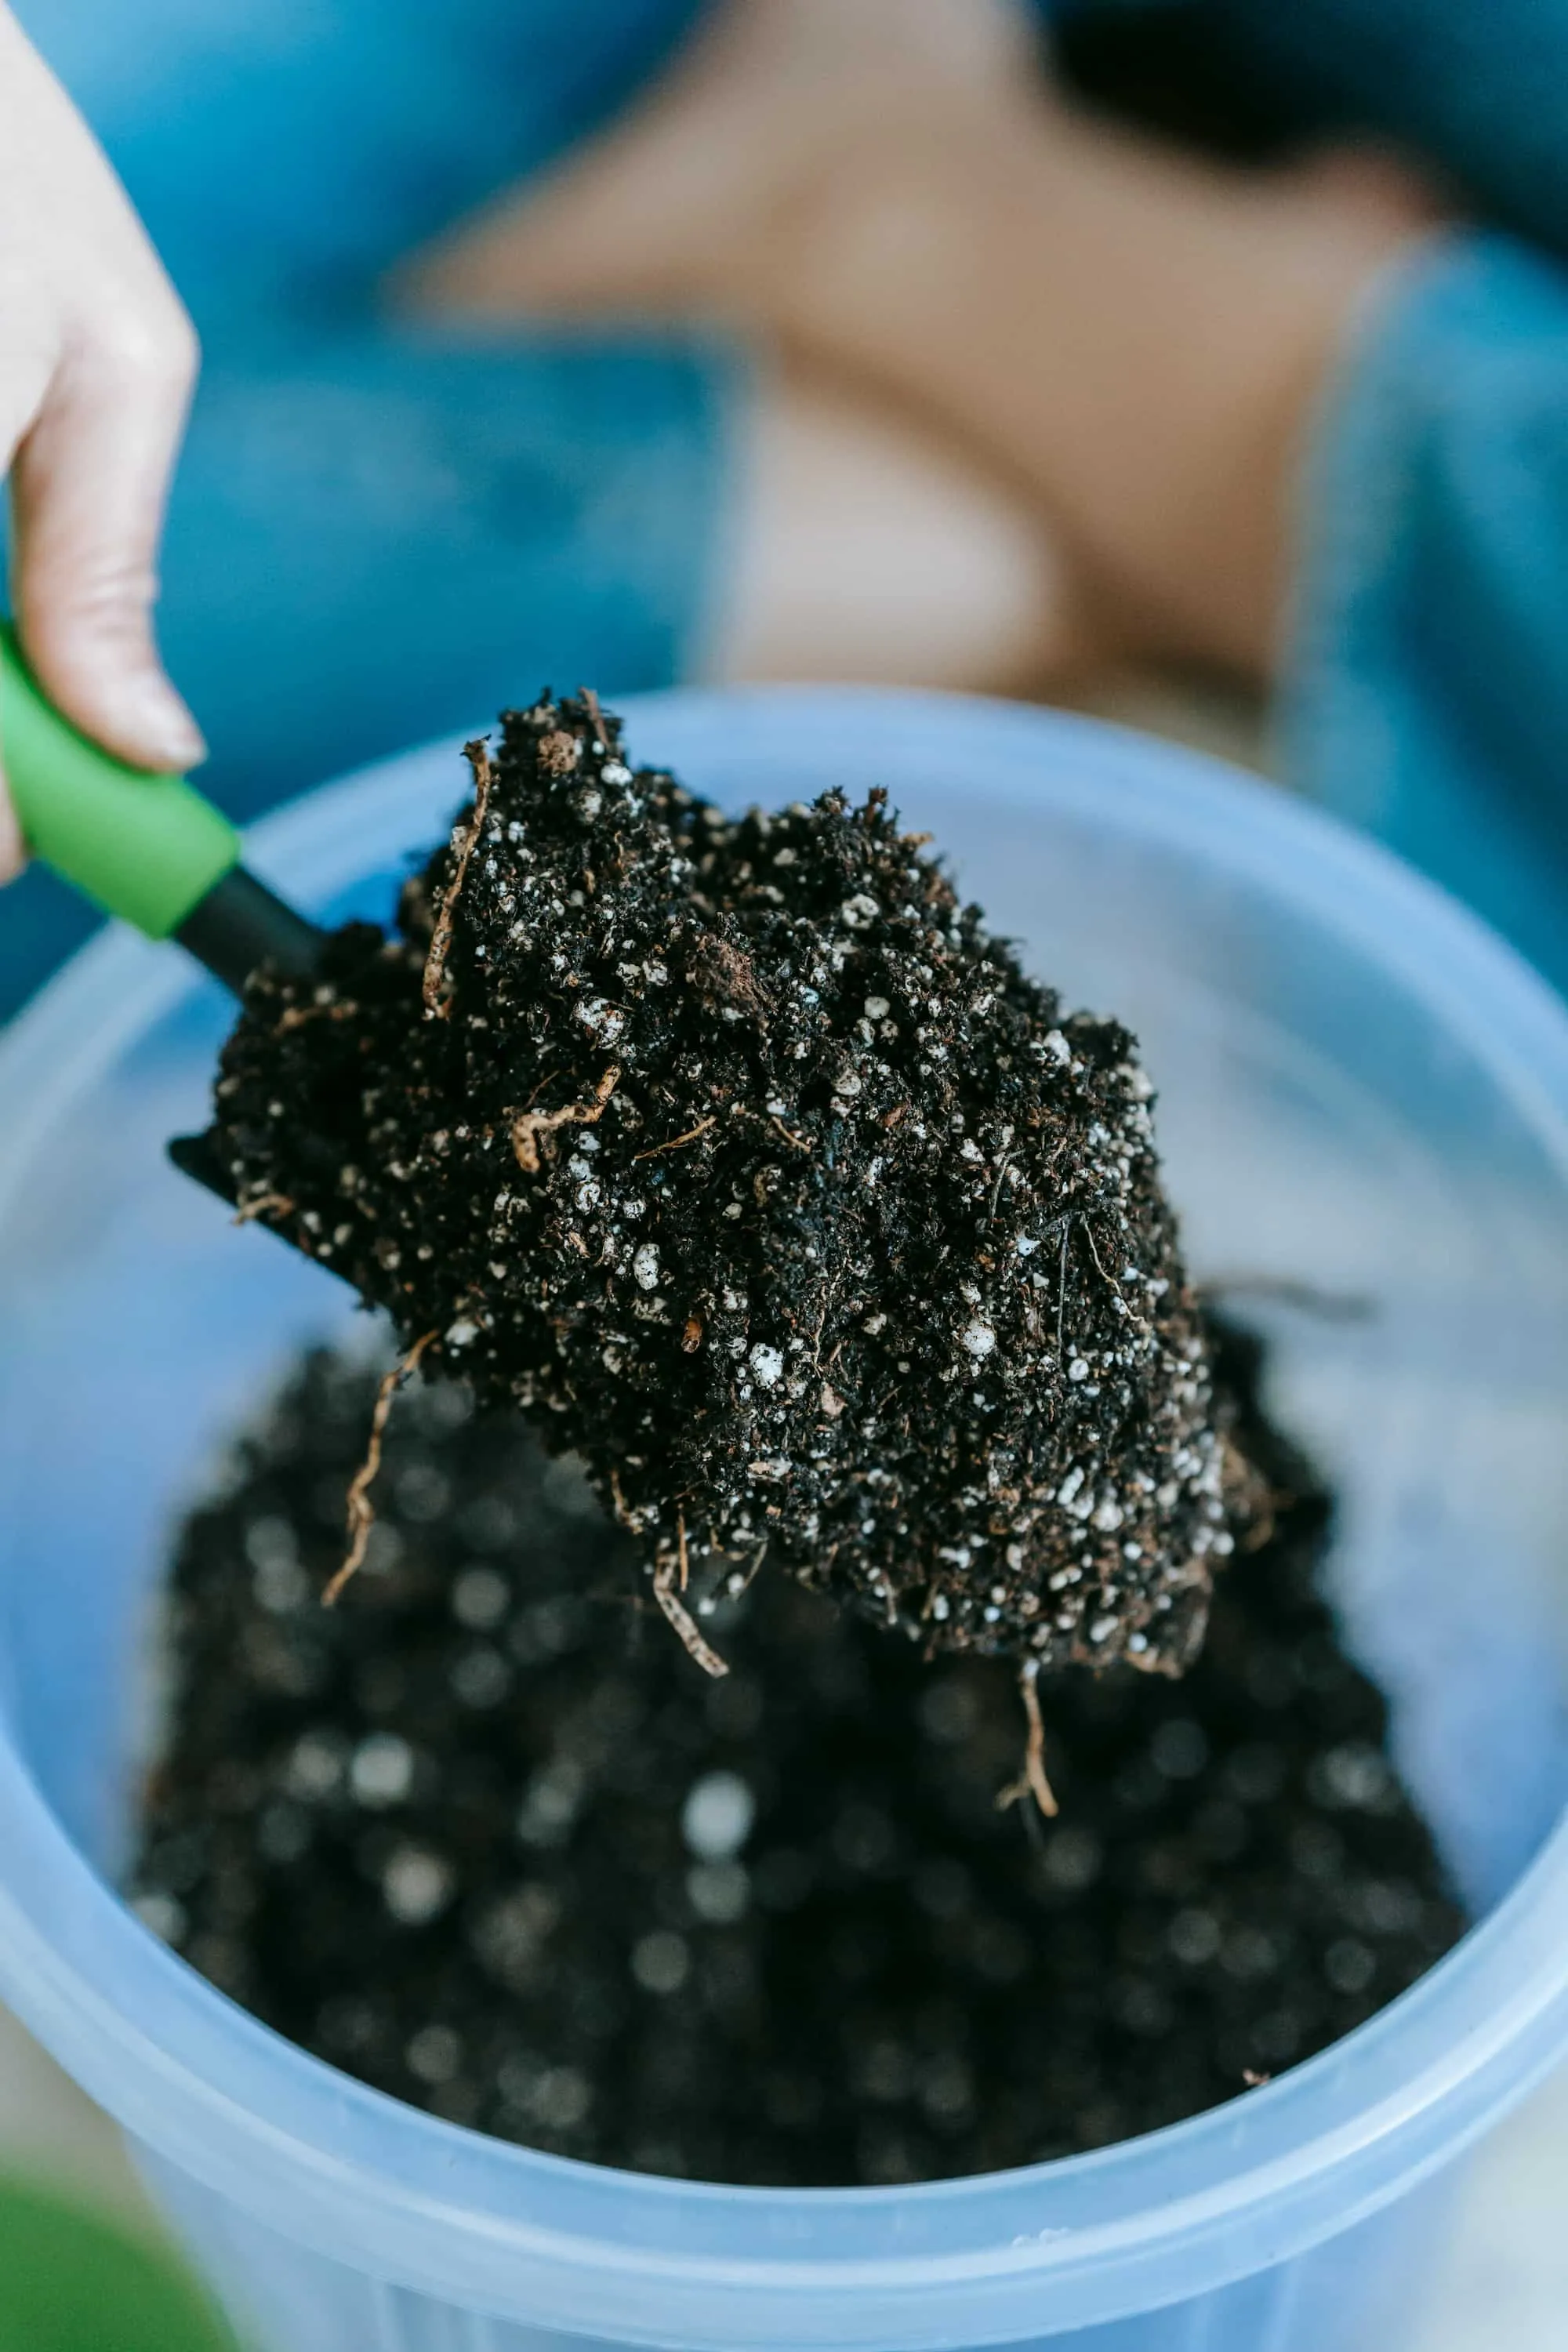
For container plants:
- Mix 25-30% compost with potting soil
- Top-dress containers mid-season for a nutrient boost
- Especially beneficial for tomatoes, peppers, and herbs
For lawns:
- Topdress with 1/4 to 1/2 inch in spring or fall
- Use as part of overseeding mix
- Helps retain moisture during dry periods
The Bottom Line: Store Compost with Confidence
That’s all there is to it. Knowing how to store compost gives you the freedom to create this amazing stuff on your own schedule. You’ll always have a supply of black gold waiting for your pots, your vegetable patch, and any plant that needs a little extra love.
Quick recap:
- Best option: Use it immediately in your garden beds
- For storage: Choose tarp, bags, totes, or leave in bin
- Key rules: Keep it moist (not wet) and allow airflow
- Shelf life: Indefinite if stored properly, though most active when fresh
Whether you’re planning your winter garden or preparing for spring planting, properly stored compost ensures you always have nutrient-rich amendments ready when your plants need them most.